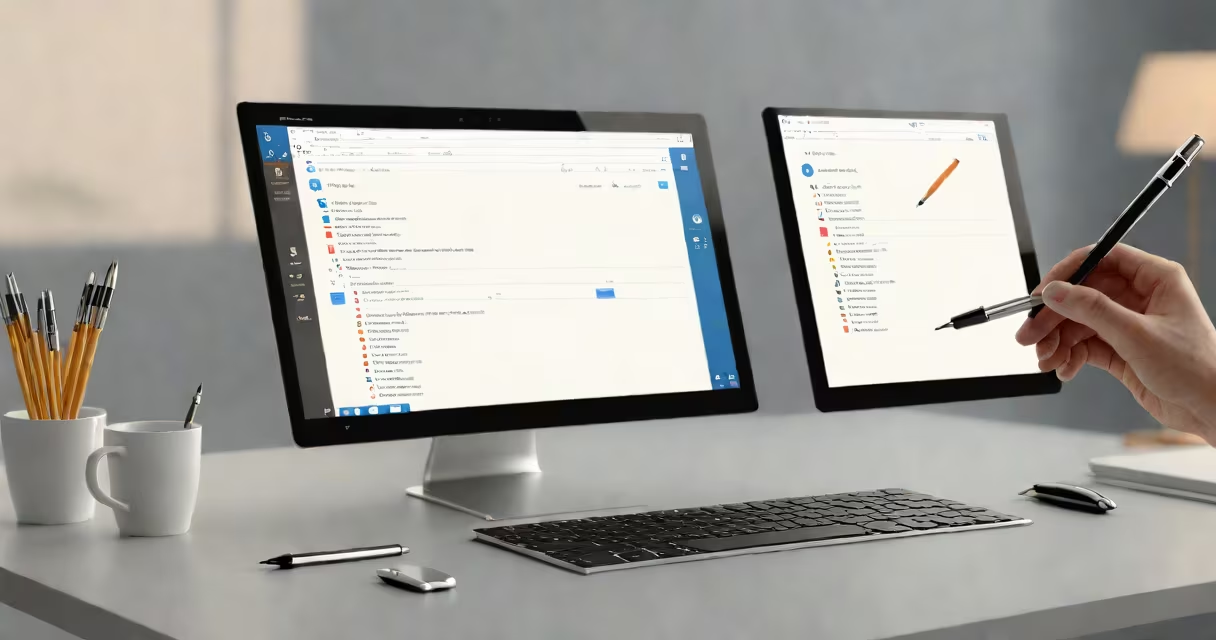
View touch and pen info refers to accessing settings that control how your device responds to touch and stylus inputs. This includes adjusting sensitivity, calibrating touchscreens, and configuring pen settings for devices with active digitizers.
These settings determine how your device interprets input from fingers or styli. They're particularly important for convertible laptops, tablets, and devices with high-resolution touchscreens. Modern operating systems separate touch and pen settings because they require different levels of precision.
For example, a finger tap might register as a larger area than a stylus tap. This is why many devices with active pens (like those from Microsoft or Wacom) have dedicated pen settings separate from touch controls.
| Setting Type | Common Options | Typical Use Case |
|---|---|---|
| Touch Sensitivity | Light/Normal/Heavy touch | Adjusting for gloves or screen protectors |
| Pen Sensitivity | Pressure levels, palm rejection | Digital art and note-taking |
| Touchscreen Calibration | Alignment points, dead zone adjustment | Fixing inaccurate touch responses |
| Pen Buttons | Right-click, erase functions | Customizing stylus buttons |
On Windows devices, go to Settings > Devices > Pen & ink to view touch and pen info. On macOS, check System Preferences > Trackpad or Apple Pencil. Android devices typically have these in Settings > Display > Advanced.
Most modern devices automatically detect when a stylus is connected and switch to pen mode. However, you may need to manually configure these settings for optimal performance, especially with third-party styli.
Many users confuse touch and pen settings, assuming they're the same. While both relate to input methods, they serve different purposes. Touch settings are generally about basic interaction, while pen settings focus on precision tasks like drawing or handwriting recognition.
Another common mistake is assuming all styli work the same way. Active pens (those with pressure sensitivity) require specific drivers and settings, while passive styli often work like regular touch inputs.
When I set up my Surface Pro for digital art, I first accessed the pen settings by pressing the physical button on the side of the device. This opened the Pen menu in Windows. From there, I calibrated the pen by following the on-screen instructions, which involved tapping specific points to align the pen with the screen.
Next, I adjusted the pressure sensitivity in the Pen & ink settings. I tested different levels by drawing in the Microsoft Whiteboard app until I found the right balance between line thickness and control. Finally, I configured the pen's side buttons to act as right-click and erase functions, which improved my workflow.
For touchscreen calibration, I used the built-in Windows tool by searching for "Calibrate the screen for pen or touch input" in the Start menu. This opened a window where I could test and adjust the touch accuracy by following prompts.
After these adjustments, my device responded much more accurately to both touch and pen inputs, making it much easier to create digital artwork and take notes.
For more information on device settings, see how to view your Gmail settings for similar configuration options.