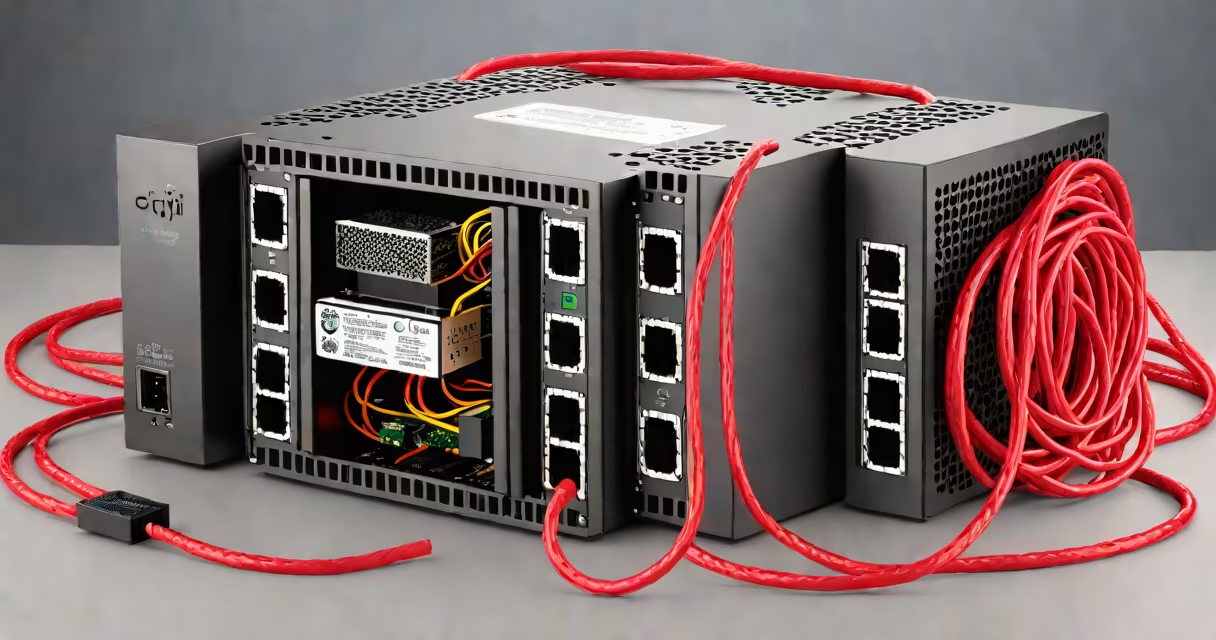
A DIY home server is a custom-built computer system that hosts services like file storage, media streaming, or web applications from your home network. It gives you full control over your data and services.
Home servers differ from regular computers in their focus on reliability, accessibility, and service hosting rather than general-purpose computing. They often run 24/7 and connect to multiple devices in a household.
A basic home server setup includes:
The server connects to your home network and provides services to other devices. For example, you might set up a media server to stream movies to your TV or a file server to share documents between computers.
| Type | Common Uses | Typical Hardware |
|---|---|---|
| Media Server | Streams movies, music, and photos | Raspberry Pi or low-power PC |
| File Server | Shares files between devices | Old desktop PC with multiple hard drives |
| Web Server | Hosts websites or web applications | Dedicated server hardware |
| Game Server | Hosts multiplayer games | Gaming PC with high-end components |
Many people start with a media server because it's relatively simple to set up and provides immediate benefits. As they gain experience, they might expand into other types of servers.
Popular operating systems for home servers include:
For specific services, you might install software like Plex for media streaming, Nextcloud for file sharing, or WordPress for web hosting. These applications run on top of your chosen operating system.
Home servers offer several advantages over cloud-based solutions:
One common misconception is that home servers require expensive, high-performance hardware. In reality, many servers run on older computers or low-power devices like Raspberry Pi boards. The key is choosing hardware that matches your specific needs.
To begin building a DIY home server:
I started with an old laptop and installed Ubuntu Server. After setting up basic file sharing, I gradually added more services as I became comfortable with the system. This incremental approach made the learning process manageable.
Remember that security is important for any internet-connected server. Follow best practices like using strong passwords, keeping software updated, and configuring firewalls properly.
Building a DIY home server is a rewarding project that gives you control over your digital life while teaching valuable technical skills. Start with a simple project and expand as your confidence grows.