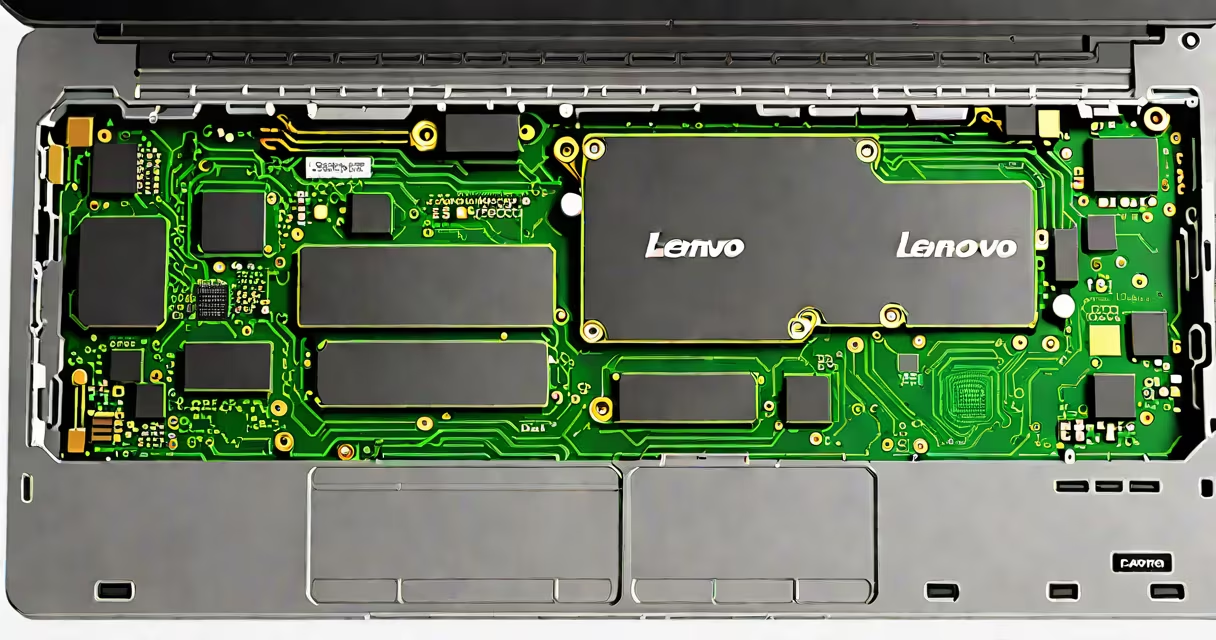
A Lenovo IdeaPad Slim 3 RAM upgrade involves replacing or adding compatible memory modules to increase your laptop's performance. This process typically requires opening the laptop's back panel to access the RAM slots.
RAM upgrades work by installing additional memory modules or replacing existing ones with higher-capacity modules. This increases the total amount of random access memory available to your operating system and applications, allowing them to run faster and handle more tasks simultaneously.
The Lenovo IdeaPad Slim 3 typically supports DDR4 SODIMM modules. The exact specifications depend on the model year and configuration. For example, the 2021 model often supports up to 16GB of DDR4-3200 memory. Always check your specific model's manual or Lenovo's support website for precise details.
| RAM Type | Capacity Options | Speed |
|---|---|---|
| DDR4 SODIMM | 4GB, 8GB, 16GB | Up to 3200MHz |
Upgrading your RAM can improve your laptop's performance, especially for memory-intensive tasks like video editing, gaming, or running multiple applications simultaneously. For instance, upgrading of RAM can make a noticeable difference in multitasking and system responsiveness.
Many users confuse RAM upgrades with storage upgrades. While both can improve performance, RAM affects short-term data processing, whereas storage (like an SSD upgrade) affects long-term data access. For a detailed guide on upgrading RAM in other laptops, refer to our dedicated article.
Before starting, ensure you have a compatible RAM module and a small Phillips screwdriver. Here's a step-by-step guide:
For a firsthand example, I upgraded my Lenovo IdeaPad Slim 3 of RAM. The process took about 15 minutes, and the performance improvement was immediate, especially when running virtual machines and multiple browser tabs.
One common mistake is purchasing incompatible RAM modules. Always verify the exact specifications for your model. Another mistake is not grounding yourself before handling internal components, which can potentially damage sensitive parts due to static electricity.