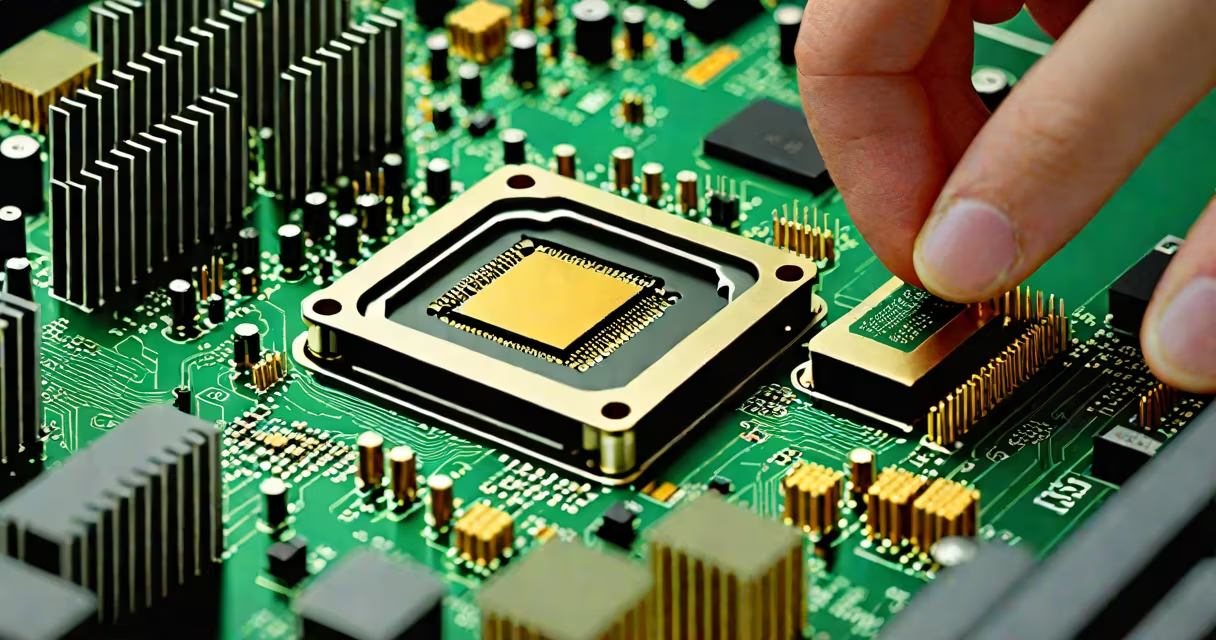
An upgrade desktop CPU involves replacing your computer's processor with a newer, faster model to improve performance. This process requires compatibility checks, proper tools, and careful handling.
Modern CPUs connect to the motherboard via a socket, which varies by manufacturer and generation. Before upgrading, verify your motherboard's socket type matches the new CPU. Intel and AMD use different sockets, and even within those brands, sockets differ across generations.
For example, an Intel Core i9-13900K uses the LGA 1700 socket, while the older i9-11900K used LGA 1200. Mixing these up would make installation impossible. Check your motherboard manual or use a tool like CPU-Z to identify your current socket type.
CPU upgrades fall into three categories:
CPUs degrade over time as software demands increase. A slower processor bottlenecks tasks like video editing, gaming, or multitasking. Upgrading can extend your computer's useful life without a full replacement.
For instance, upgrading from an Intel Core i5-10400F (4 cores, 8 threads) to an i5-13600K (14 cores, 20 threads) reduces rendering times in Adobe Premiere Pro by up to 40%, according to benchmarks by Tom's Hardware.
Many assume any CPU fits any motherboard, but compatibility depends on the socket, chipset, and BIOS version. Some motherboards require BIOS updates to support newer CPUs, a step often overlooked by beginners.
Another myth is that upgrading the CPU alone drastically improves performance. In reality, other components like RAM and storage also play important roles. For balanced performance, pair a CPU upgrade with at least 16GB of DDR4/DDR5 RAM and an NVMe SSD.
To upgrade your desktop CPU, follow these steps:
After installation, enter the BIOS to ensure the system recognizes the new CPU. Update the BIOS if prompted for optimal performance.
When I upgraded my own desktop from an AMD Ryzen 5 3600 to a Ryzen 7 5800X, I noticed immediate improvements in game load times and multitasking efficiency. The process took about 30 minutes, including research and installation.
Gather these items before starting: